Alright folks, I hope you enjoy this post and take in every last moment, cause I can tell you, I am never making these suckers again! (That’s a lie. I very well may convince myself to make them again when someone else gets married, or has a baby, or another one of those life changing moments. But for now I am folding my arms across my chest and saying no way!)
I first saw these Cupcake Pops on the blog Bakerella, the author of which recently appeared on Martha Stewart making these (pretty cool!). I couldn’t get over how cute they were, and she made them for every occasion—she had Father’s Day cupcake pops, for-charity cupcake pops, and so on, so I thought, How hard could they be? Well, hard.
If you’re going to make these, I do suggest you have—in addition to the recipe’s ingredients—a whole lot of time and patience. These were two ingredients I usually have on hand, but this batch pushed my limits. First of all, the cake kept crumbling when I’d try to cover it in chocolate—whole bits of cake would fall off into the chocolate! In the end, I just held the cupcake and spooned the chocolate on and rubbed it around gently, but maybe you’ll have more luck.
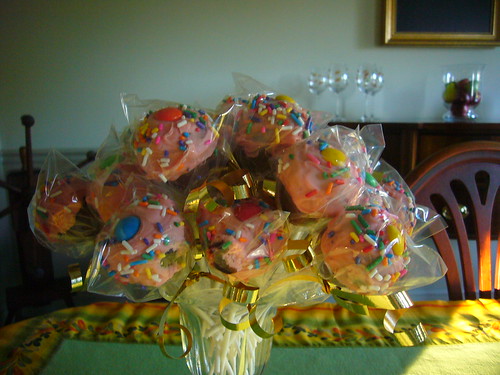
Anyway, I made them for my brother’s fiancé’s bridal shower—I’m a bridesmaid and wanted to really contribute in the way that I best know how (baking!)—and was so glad I made them the night before; I would have gone nuts if I had tried to bake them on the same day, while helping my mom set up the house and getting myself ready. I suggest you do the same; give yourself plenty of time. On the flip side, they were a huge hit (I knew they would be). Everyone thought they were adorable, and although I didn’t think that mine turned out looking like mini cupcakes (like they’re supposed to), everyone else did. Best of all, they’re incredibly (and surprisingly) moist inside. You expect a hunk of chocolate or a dried cake, but it’s really gooey and soft inside. Yum! But as I told everyone, amidst their “mmm”s, enjoy them now, because I won’t be making them again! If you think you’re up to the challenge, here’s how you make ‘em:
Cupcake Pops and Cupcake Bites
1 13x9 baked cake
1 can cream cheese frosting (or about 2 cups equivalent from scratch)
1 flower shaped cookie cutter (1.25" wide X .75" tall)
1 package chocolate bark
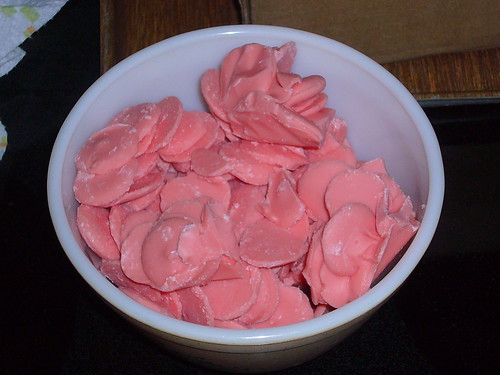
1 package pink candy melts or white chocolate bark
Wax paper
Aluminum foil
Sprinkles, M&Ms
Lollipop sticks, plastic treat bags and ribbons
Serves: 50
Duration: 2 days
Bake a cake from a mix or from scratch in a 9x13 plan and cool completely. Crumble cake into a fine consistency into a large bowl. If the texture is too coarse, you can run it through a food processor. Add can of cream cheese frosting or homemade frosting and blend together using the back of a large spoon. Blend thoroughly. Roll mixture into 1.25" - 1.5" size balls and lay on wax paper covered cookie sheet. You may want to periodically rinse and dry your hands off in between. Cover with aluminum foil or plastic wrap and chill in refrigerator for several hours. You can speed this up by placing in the freezer for about 15 minutes.
Remove. Begin to shape into cupcakes using a small flower-shaped cookie cutter. To do this, take the chilled ball and roll it into more of an oval and then slide into cookie cutter. Push it into cutter until about half fills the cutter and the rest sticks out of the top in the shape of a mound. Then push the shaped cupcake carefully out of the cookie cutter from the bottom. Set right side up on a wax paper covered cookie sheet. Continue with remaining balls. Once shaped, cover and return to freezer. (5-10 minutes). You can also leave them covered in the refrigerator overnight if you want to do the dipping on the following day.
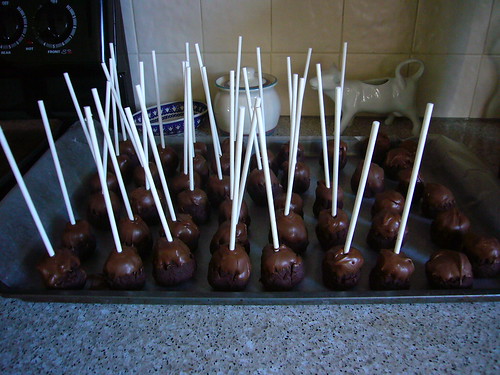
While cupcake shapes are chilling, begin to heat up your chocolate bark. Brown chocolate bark for the bottoms and pink (or whatever color you want) for the tops. Follow the instructions on the package for melting, but most recommend heating for 30 second intervals at a time and stirring in between. You can also do the double boiler method. When you are ready to dip, remove the cupcake balls from the freezer and set up another wax paper covered cookie sheet. Take the cupcake shaped mixture and dip bottoms into the melted chocolate, just to the point where the mounded shape starts. Remove from chocolate, turn upside down and wiggle so that the excess starts to slide down slightly. Then lay on the wax paper upside down. If you want them to be lollipops, then go ahead and insert the lollipop sticks while the chocolate is still wet. You can also leave some without the sticks; they’re just as cute as Cupcake Bites. If you’re not feeling confident about the support of the lollipop stick, dip the end of the stick in the melted chocolate before inserting into chocolate bottoms. Under no circumstances should you get water in the chocolate; make sure your hands are completely dry. Water will cause the chocolate to separate and mess up all your hard work. Dry completely. (15-20 minutes).
Once dry, melt and then dip the tops of the cupcakes in the pink or white chocolate.
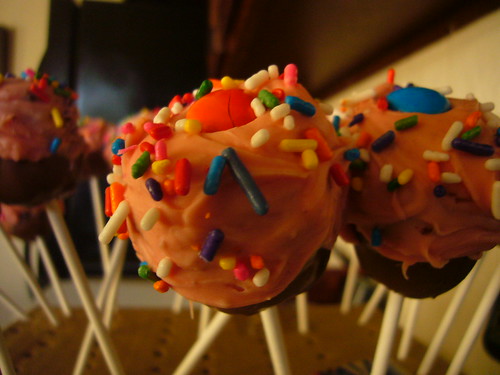
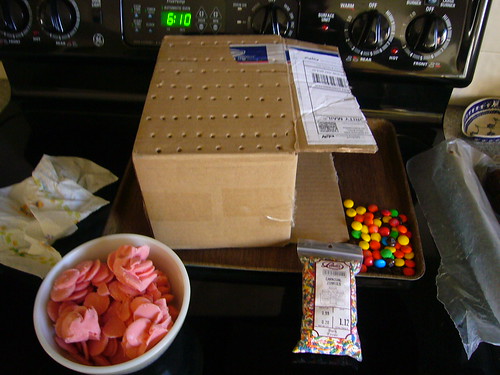
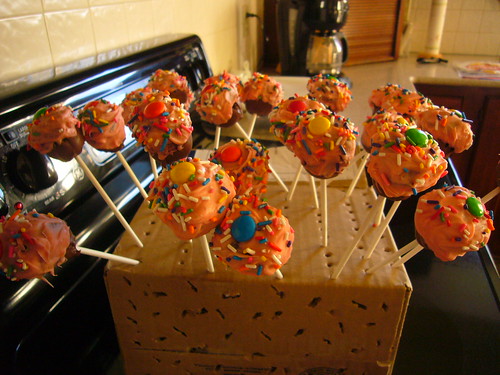
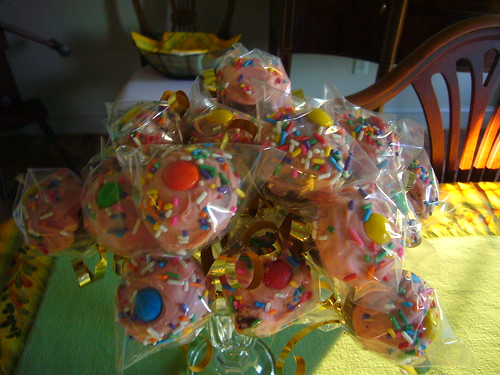
You may need to move it around a little to cover all the exposed areas. Let the pink chocolate sit for a few minutes after heating to thicken; this will help it from dripping down the sides of the cupcake. Remove from the pink/white chocolate and turn right side up. You may need to hold and rotate it if there is any excess so that it doesn’t drip down too far. You can use a toothpick to help cover any areas the melted chocolate didn't cover.Then put each one in a Styrofoam block or, in my case, an Amazon.com box punched with holes.Let them dry.
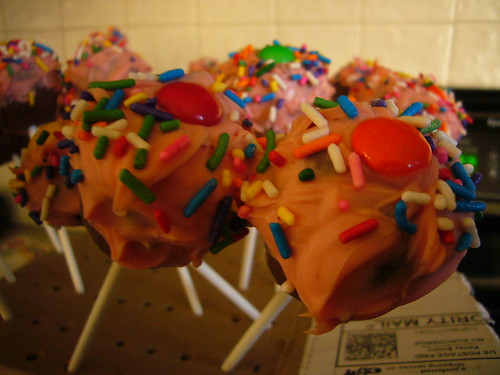
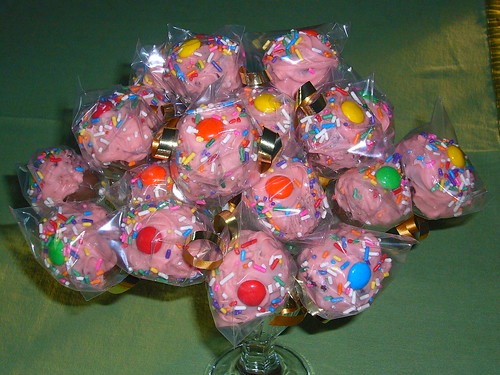
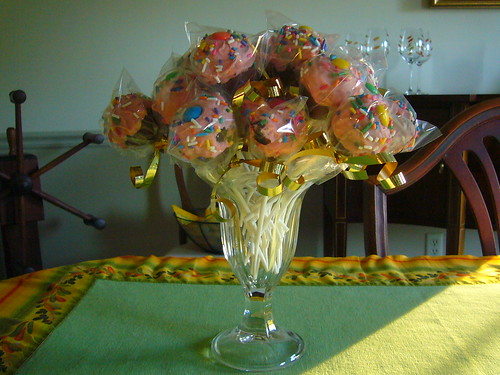
For the Cupcake Bites, just turn right side up and rest on the wax paper. Then go ahead and put an M&M on the top and add sprinkles while wet. For the lollipops, continue holding and place an M&M on the top and add sprinkles. Let them dry in a Styrofoam block that you have already poked holes into (or, in my case, an Amazon.com box). When completely dry, cover the lollipops with small plastic treat bags and tie with a ribbon. You can store these in an airtight container and they will last for several days. You can also store in the refrigerator if you would like them cold.
I hope you enjoyed the grueling process much more than I did!
Caleb and Amy are two fresh-faced, twenty-something year olds who recently graduated from Gettysburg College in Gettysburg, PA with degrees in English and Writing. Amy is currently living in Iowa City, while Caleb resides in Boston. When not studying poetry or writing essays, they enjoy cooking, baking, and blogging, which you already know.